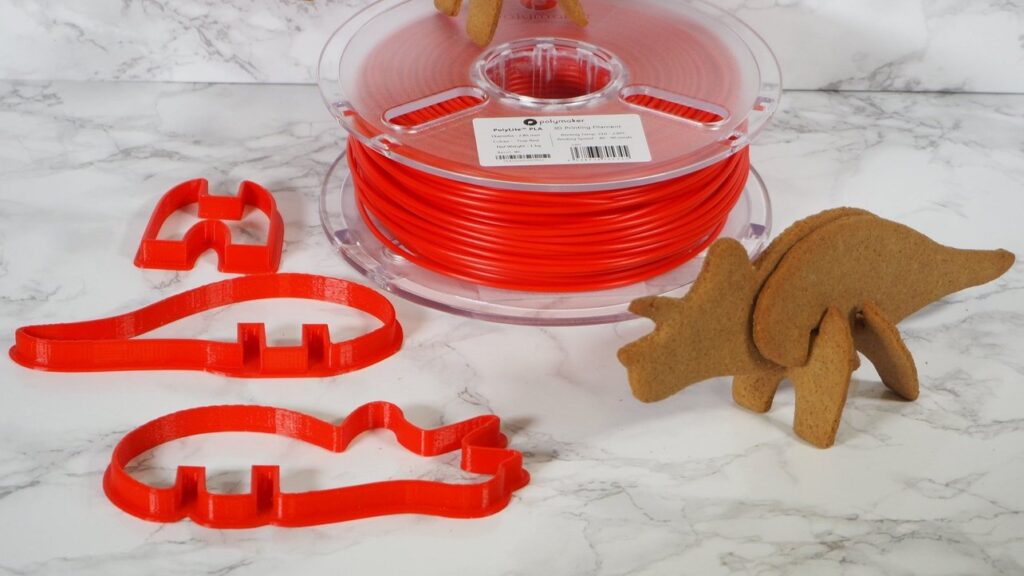
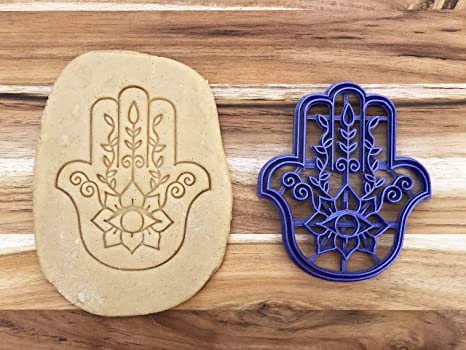
3D printing cookie cutters can be a great way to experiment while baking! 3D printing can be a great hobby to get into if you are into making things. Skip the extra trip to the store and save money by 3d printing your very own cookie cutters.
Contents
Things to know before you start
There should be a couple things you keep in mind before you start printing cookie cutters. First is you should have a 3D printer, and a interest in baking. In this article we will go over food safety, a great starter printer for printing your cookie cutters and
Food Safe Information
Food safety is important when dealing with plastics and food. Because our 3d printed cookie cutters will not have direct contact with food that will be directly consumed they should be fine. Cookies that are made from the cookie cutters are baked before they are consumed minimizing the risk of bacterial contact from the printed part.
It is not recommended to used 3d printed parts that have direct contact with your food. It is believed that because of the layers generated by 3d printing, bacterial can get stuck and grow in these layers. That is why it is not recommended for direct contact with food.
Material Choice
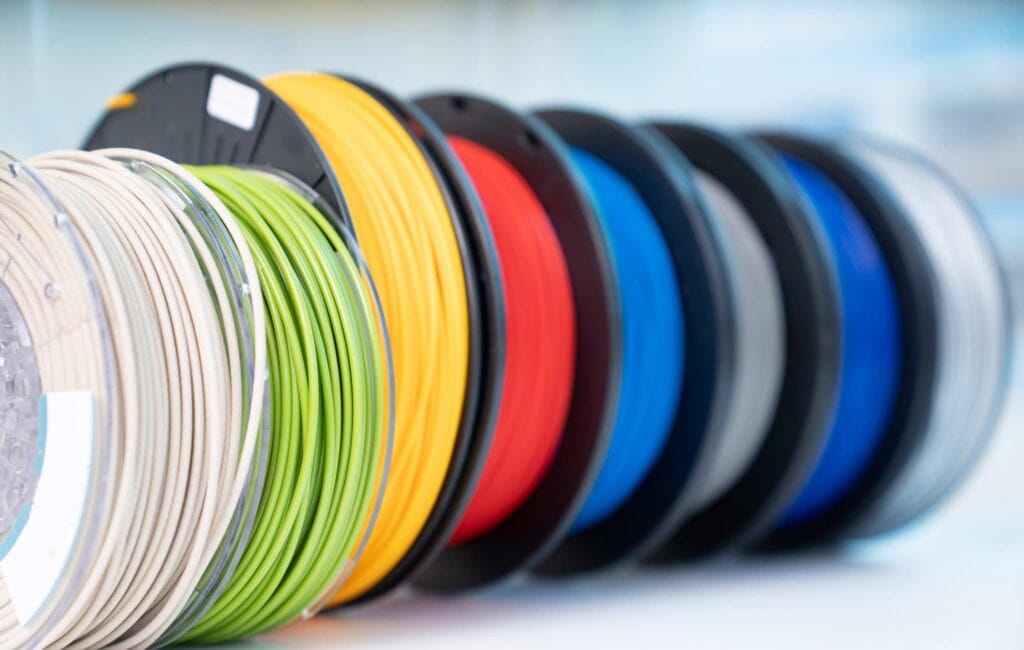
Picking the right material for your 3d printed cookie cutters is important. It goes hand in hand with food safety. For your cookie cutters we recommend using PLA filament as it is a less harsh material.
A list of materials to avoid are anything high temperature. A general rule of thumb with 3D printing filaments is the hotter the filament gets printed at the higher chance it is more toxic. That is why when printers are printing materials like ABS or ASA, they are fully enclosed and usually have HEPA filters going.
For this project we recommend just sticking with PLA filament as it is easy to 3d print with.
Picking the right Printer for the job
Picking the right 3D printer for the job is also important when we look at printing cookie cutters. 3D printers usually specialize in one or two things. For example, resin 3d printers specialize in creating small detailed parts and FDM can do medium to large prints.
FDM 3d Printers are recommended for these types of projects because they are cheap and easy to work with.
Printers we recommend
We have hand selected a couple of printers we recommend for printing cookie cutters, these options are for a budgeted printer and a more professional printer. Picking the best 3d printer for your needs is important.
Printers typically get better the more you spent and same goes with your experience, the more you spent the better user experience you are going to get.
If you are using your printer for basic tasks like printing cookie cutters you may not need the most advanced machine possible.
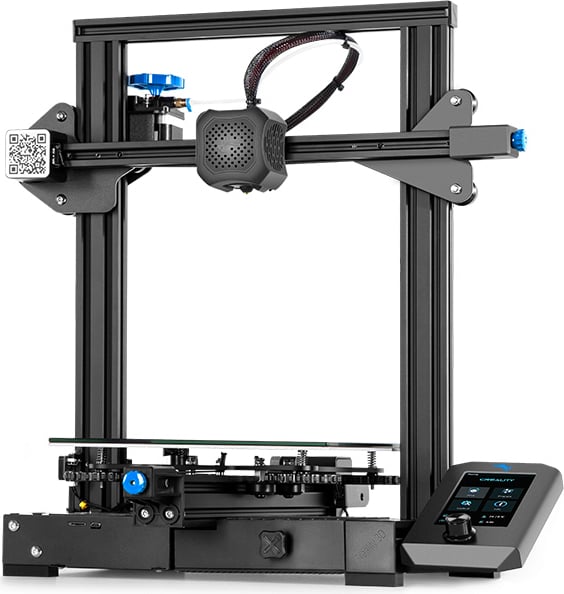
The creality ender 3 V2 is a great starter printer that is more than capable of printing a cookie cutter. Creality has many different 3d printers that they sell, the ender 3 is on the entry level 3d printer.
It is easy to assemble, offers a large build volume. The ender 3 has a heated build plate and a 3.5 inch display to control the printer.
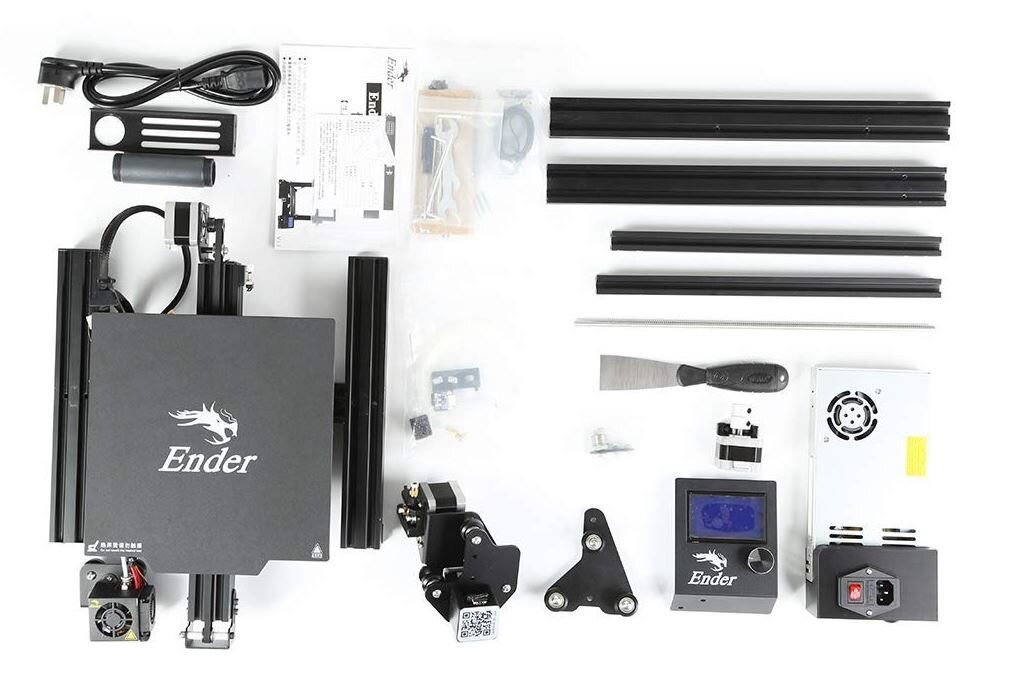
Technical Specifications
Some technical specs of the ender 3 v2: Build volume: 220 x 220 x 250mm, max layer height .12 mm, sd card to print and manual bed leveling.
The ender 3 features a new brand name power supply for added safety and with additional mods can print over wi fi.
Maximum extruder temperature of around 250 degrees celsius and heated bed temperature maxes out at around 70 degree celsius.
Ultimaker 3
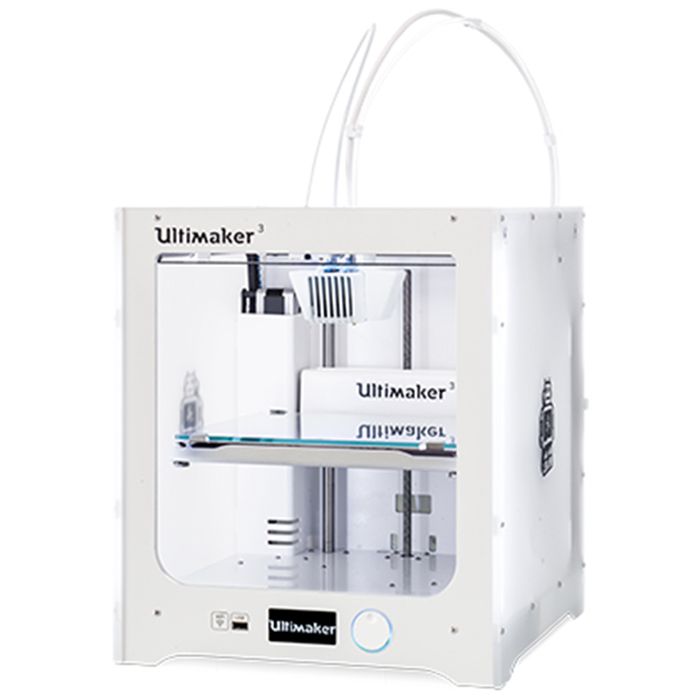
The ultimaker 3 is a great professional 3d printer. This is meant for serious printers and hobbyists. The Ultimaker has a slightly higher price tag of around $3500 USD. The printer features a color touchscreen to start prints and auto bed leveling. Compared to the ender 3 this printer is great for beginners, it comes fully assembled and ready to print out of the box.
The ultimaker offers a touch screen to select prints and start prints.
The printer can produce many different types of materials and can create mini parts with ease while maintaining quality. A common use of ultimakers is to use ABS filaments because of its enclosed build chamber.
The printer features a solid z axis, which gets rid of any weird shift that can occur while printing long prints. The printer can be set up to print over wi fi or USB.
The ultimaker features a user friendly experience when 3d printing. The printer uses a software called cura to slice the models and adjust machine parameters.

Special Features
The ultimakers build volume is 215 x 215 x 200mm. This printer has a heated glass bed and offers dual extrusion. The printer features hot swappable nozzles which makes changing your nozzle easy. Wi fi compability.
Design your own Cookie Cutters
Designing your own cookie cutters for 3d printing is an easy task if you have the right set up. I would recommend downloading a free CAD software (computer aided design software) to start. A couple software’s we have used are on shape and fusion 360. Both have paid options but both also offer a free sign up for basic use.
Download the Software
Once you get your software downloaded it is time to start designing your very own cookie cutter.
Start with Easy Shapes
Use the equivalent to a line tool and start by sketching a basic shape, maybe start with a square or if you are feeling brave a organic shape.
Next try extruding the walls of your shape, this can be done using a thin feature so the shape you have drawn can leave room to cut the actual cookie.
Try more complex shapes or drawings
Once you have gotten an understanding of how the cad software works, try more advanced shapes like a Holiday Tree or snowman.
If you get stuck youtube is a great resource for learning how to design things on CAD.
Video Resources
Below is a great set of videos resource for how to design a cookie cutter that is ready to 3d print.
Both are great options that are around twenty minutes long that explain and show the full process start to finish on how to design cookie cutters for 3d printing. The great part about watching a video is it shows the full process of what and where to click to find the different tools to get the model made.
Saving the design file
To get your file you had just designed ready for 3d printing there is a couple of simple steps you must follow.
First, click file save as and save your cookie cutter as a .STL file extension. Make sure to save it in an easy to find file location as we will need to open it in a different software later.
How to 3D Print
Where to start?
Start by taking your .STL file and loading it into your slicer (3d printers software) of choice. We recommend using CURA for both the ultimaker and the ender 3 v2 3d Printer as it is one of the more user friendly slicing softwares on the market that is free to use.
Define Print Settings
Set your print up for success by making sure you have set up your slicer with the correct profiles. In this case we are going to go off of our best slicer settings for the ender 3 V2. If you have the ultimaker follow along but you may need to adjust some of your settings to suit your printer the best.
Ender 3 V2 Print settings:
Printing Speed: 45mm/s
Layer height: 200 microns
Nozzle Temperature: 200 degrees C
Bed Temperature 55 degrees C
Top and bottom layers: 3
Walls: 2
Infill percentage: 20%
Printing Step
Save your file in the slicer of your choice as a gcode file and save on to your micro SD card and insert it back into the printer.
Start by homing and calibrating / checking if the bed is level. Next, start printing.
It is important to watch the first layer go down. This tells us a lot on how the print will end up going. If the first layer is not sticking properly, the print will likely fail. Try releveling your bed and adjusting your z offset if need be.
There can be a lot of problems that come up while 3D printing, it is great trouble shooting practice.
Some common failures on the ender 3 printers is poor first layer adhesion, failed features or miss extrusion. These problems are easily fixable and often do not take long to fix once you understand what is going on with the printer.
Find Cookie Cutter Designs online
There are a lot of great free resources online to find cookie cutter models for your 3d printer. There is going to be a lot you might want to print. A site we recommend is thingiverse. They have a lot of free models that are ready to be 3D printed.
Batman Cookie Cutter
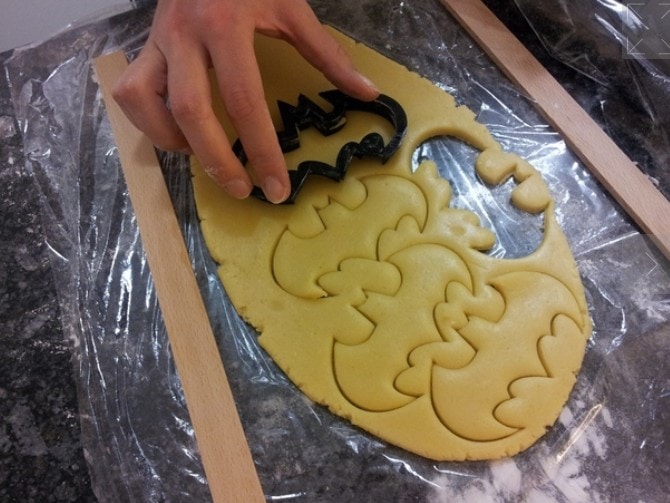
The batman cookie cutter is perfect for any batman fan. They will love the cookies you have made using this cookie cutter. All this can be accomplished at home by having a 3d printer. No more trips to the store to buy expensive cookie cutters.
The model is ready to go into your slicer and print on your 3d printer.
You can download the batman cookie cutter model here: https://www.thingiverse.com/thing:35796
Santa Claus Cookie Cutter
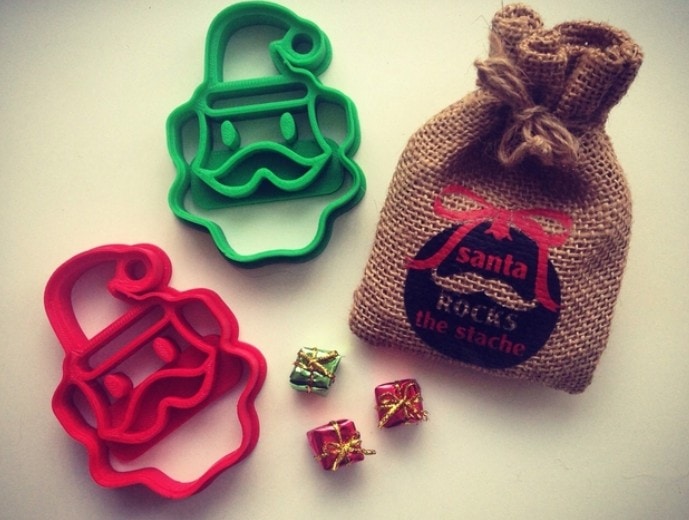
This was probably one of our favorites that we found. It is ready to be 3d printed by your 3d printer! Just download the file and plug it into your slicer and you will have santa cookies in no time.
Download the model Here: https://www.thingiverse.com/thing:723402
Cookie Recipe

Here is a cookie recipe that would be perfect for your 3d printed cutters. It is simple to make and does not take much time or skill to put together.
The recipe makes around three to four panful’s of cookies depending on the size of your cookie cutters.
Ingredients
3 Cups Flour
3/4 Teaspoon baking powder
1/4 teaspoon salt, 1 cup unsalted butter
1 cup sugar
1 egg
1 tablespoon milk
powdered sugar
Step 1:
Mix flour, baking powder and salt together. Next place your butter and sugar in a large bowl, with a mixer mix until combined. Add the egg and milk into the butter and sugar mixture. When mixing slowly stir in the flour. Let dough refrigerate for two hours.
Step 2:
Preheat your oven to 375 degrees F or 190 degrees C.
Step 3:
Prepare your work surface with a light dusting of flour. Next remove your dough from the refrigerator and start rolling out your dough until it is around 1/4in thick or 10mm thick. Start by using your printed cookie cutters to cut out shapes of the dough and place them onto a greased baking sheet. Keep cookies around 1 in or 25mm apart from one another to avoid sticking during baking.
Step 4:
Bake cookies for seven to nine minutes or until cookies turn slightly golden. Take cookies out and leave to rest before taking them off the pan.
Step 5:
Decoration time! Using sprinkles or frosting or both to add to on top of the cookies to make them holiday themed.
Recipe from Foodnetwork.com
Common Questions:
3D printing is a time consuming process where one cookie cutter can take around an hour to several hours.
Yes, The cookies will be subject to cooking after the PLA cookie cutter has come into contact with them. This will kill any bacteria that the cookie cutter might have gotten on the cookie.
What if I don’t have a 3D printer?
There are many print on demand services that would be happy to print your design or design and print your cookie cutter if need be. The cost can range, from usually $2 per printing hour up to $30 per printing hour depending on your selections.
Conclusion
We hope you were able to find the perfect 3d printer for cookie cutters by using the information you gathered in this article.